
Applying a patch to a backpack is a simple process that can add a personal touch to your gear. First, you’ll need a patch, your backpack, and an iron.
Start by positioning the patch on your backpack where you want it to be. Make sure the backpack material can withstand the heat from the iron – synthetic materials can melt. Next, heat your iron without steam. Now, place a thin cloth over the patch and apply the hot iron.
Press down firmly for about 15-20 seconds. Be careful not to move the iron around, as it could move the patch. Finally, let it cool: how to put a patch on a backpack, and you’ve successfully attached a patch to your backpack.
The Art of Backpack Patching
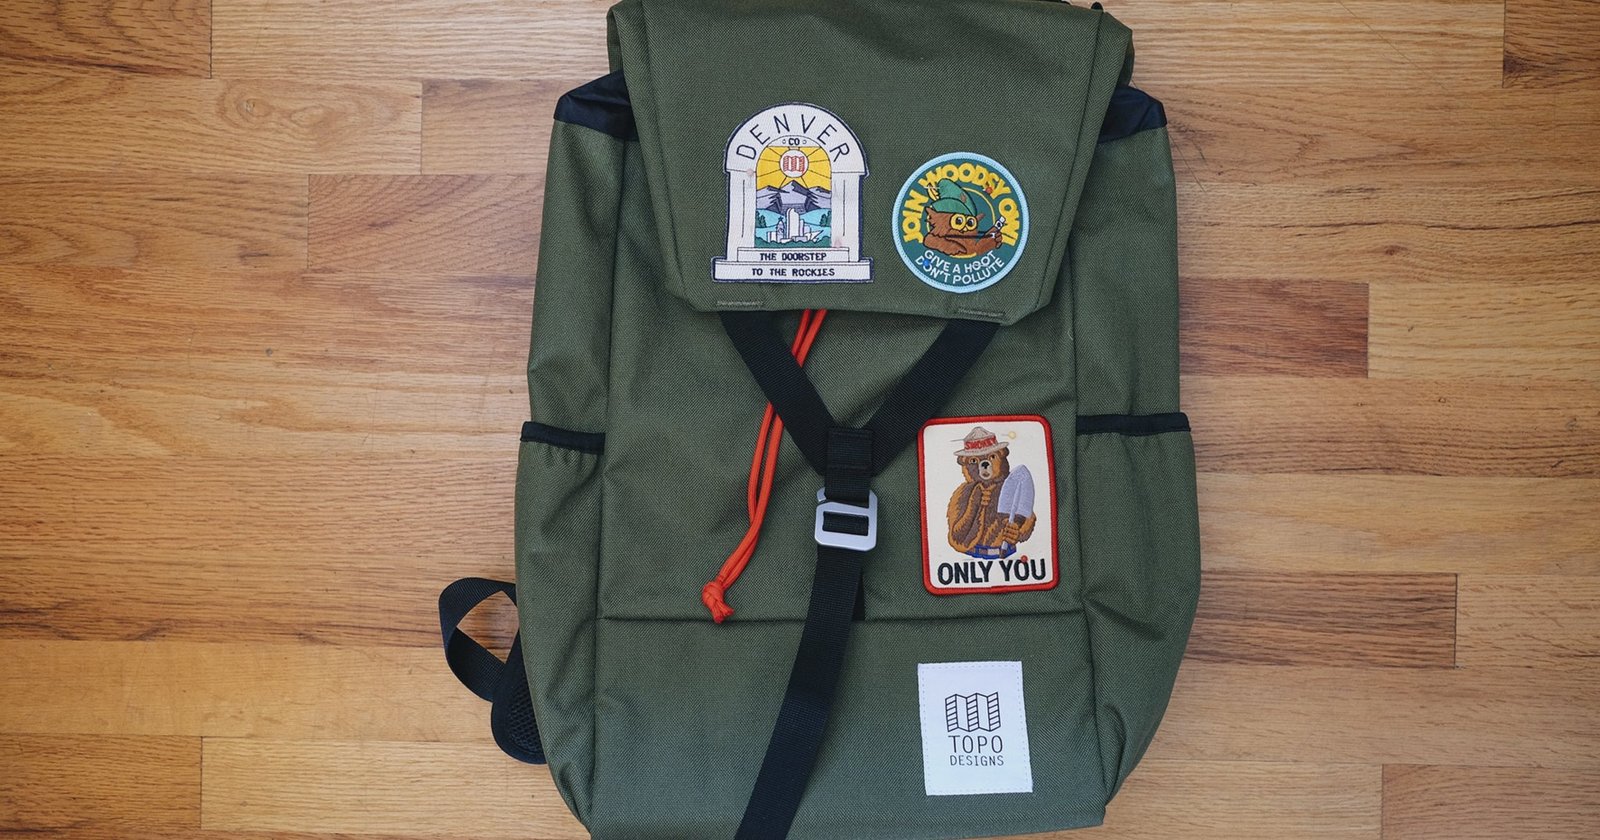
The art of backpack patching goes beyond just attaching a patch; it’s a form of personal expression, a way to tell your story. Each patch can signify a different adventure, a favorite band, how to put a patch on a backpack, or represent places you’ve traveled.
Patching isn’t merely a useful endeavor to mend a tear or hole; it’s almost like curating a mobile gallery, a visual diary of one’s milestones and memories. The arrangement of patches can also present an aesthetic challenge, requiring a sense of balance, color coordination, and spatial awareness.
Ultimately, the art of backpack patching is a testament to one’s journey, both physically and metaphorically. Each patched backpack is unique, narrating an individual’s tale of exploration and experience.
Introduction
The practice of attaching patches to backpacks transcends simple functionality; it has evolved into an art form, allowing individuals to express their unique identities, experiences, and passions.
Whether showcasing travel destinations, affiliations, or simply pieces of quirky artwork, these patches tell a story about the wearer.
As you embark on this creative journey, this guide will help you master the art of backpack patching. Not only will we walk you through the technical steps of how to put a patch on a backpack, but we’ll also provide tips on choosing patches and arranging them effectively to portray your story in the best light.
Selecting Your Patches
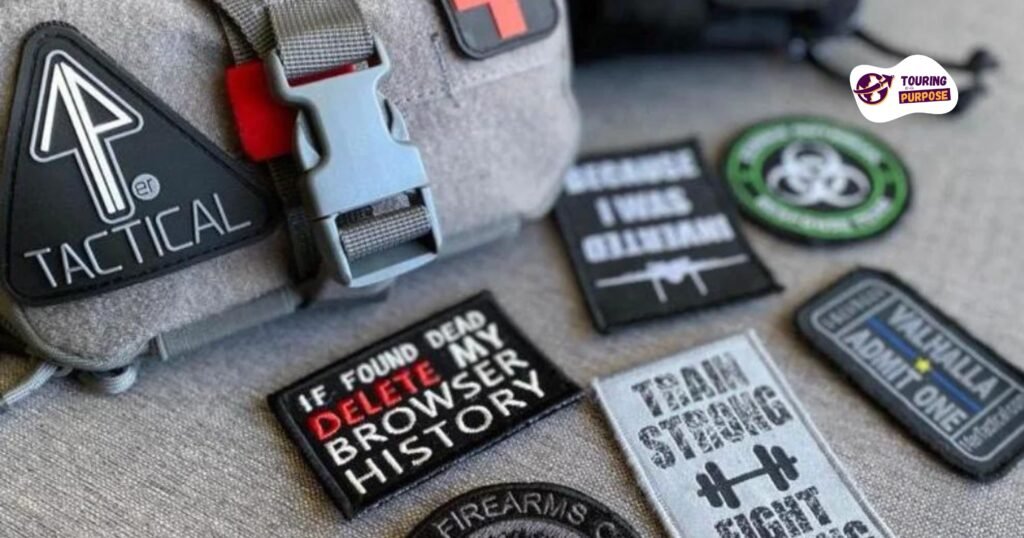
- Types of Patches: Discuss the various types of patches, such as iron-on, sew-on, and adhesive.
- Choosing Designs: Offer advice on selecting patches that align with your interests and style.
- Sizing and Placement: Consider the size and where you want to place the patches on your backpack.
Gathering the Necessary Materials
- Patches: Acquire the patches you want to apply.
- Backpack: Ensure your backpack is clean and ready for the patching process.
- Needles and Thread: Gather appropriate needles and thread if you’re opting for sew-on patches.
- Iron and Ironing Board: For iron-on patches, have an iron and ironing board at the ready.
- Scissors: Keep scissors handy for cutting excess thread or fabric.
- Pins: Use pins to secure patches in place during sewing.
- Fabric Glue (Optional): Consider fabric glue for extra adhesion, especially with adhesive patches.
Preparing Your Backpack
- Cleanliness: Ensure your backpack is clean and free of dirt, dust, or debris.
- Placement: Decide where you want to attach the patches to your backpack.
- Marking (Optional): Use chalk or a washable marker to mark the exact positions.

Iron-On Patches: Step-by-Step Guide
- Layout: Place the patch on the marked spot, adhesive side down.
- Heat: Set your iron to the appropriate temperature for the fabric, usually cotton or wool.
- Covering: Cover the patch with a thin cloth or parchment paper to prevent direct contact with the iron.
- Pressing: Apply the iron with firm pressure for the recommended duration (usually 20-30 seconds).
- Cooling: Allow the area to cool before checking the adhesion.
- Reinforcement (Optional): For added security, stitch around the edges of the iron-on patch.
Sew-On Patches: Step-by-Step Guide
- Threading: Thread a needle and tie a knot at the end.
- Securing: Insert the needle from the inside of the backpack to the outside, starting at the patch’s edge.
- Sewing: Create even stitches around the patch, ensuring it’s securely attached.
- Knotting: Knot the thread securely on the inside of the backpack when finished.
- Reinforcement (Optional): For extra durability, apply a small amount of fabric glue to the back of the patch before sewing.
Adhesive Patches: Step-by-Step Guide
- Positioning: Peel off the backing of the adhesive patch.
- Placement: Carefully position the adhesive side on your backpack.
- Pressing: Apply firm pressure to ensure proper adhesion.
- Drying: Allow the adhesive to set for the recommended time (as per the patch instructions).
- Reinforcement (Optional): Consider stitching around the edges for extra security.
Finishing Touches
- Cutting Excess Fabric: Trim any excess fabric or thread for a clean look.
- Admire Your Work: Step back and admire your newly patched backpack.
Caring for Your Patched Backpack
- Cleaning: Be mindful when washing your backpack, especially if you have sewn patches.
- Storage: Store your backpack in a dry, cool place to prevent damage to patches.
- Maintenance: Regularly check for loose patches and reattach them as needed.
Conclusion
Recap Key Takeaways: Summarize the key points, highlighting the creative and expressive aspects of backpack patching. Empowerment: Conclude by empowering readers to embark on their patching journey and make their backpacks a canvas for self-expression. Adding patches to your backpack is not just a practical way to cover imperfections; it’s a form of self-expression. With the right patches and the proper application technique, your backpack can become a unique piece of art that reflects your personality and interests. So, how to put a patch on a backpack, grab your favorite patches, and get ready to showcase your style on the go.
FAQs
How do you iron on a patch on a backpack?
Ironing on a patch is simple. Ensure the backpack fabric can withstand the iron’s heat. Position the patch and cover it with a thin cloth. Apply firm pressure with a hot iron for about 30 seconds. Once cooled, check for proper adhesion. If corners lift, how to put a patch on a backpack, reapply heat until fully attached. Remember, iron-on patches can also be reinforced with stitching.
How do you put a patch on without sewing?
You can apply a patch without sewing by using fabric glue or an iron-on option if the patch has an adhesive backing. Clean the area on the backpack where the patch will go. Position the patch and apply fabric glue or iron it on, following the manufacturer’s instructions. Allow to dry or cool before use.
Do iron-on patches stay on?
Iron-on patches typically stay on well, especially if properly applied with sufficient heat. However, they may start to peel off after repeated washing or rough handling. To ensure longevity, reinforce them with a few stitches or use a specific patch adhesive; how to put a patch on a backpack creates a stronger bond. Remember, your patches are not just decorative; they help tell your unique story.
How do you attach a patch to something?
Attaching a patch to an item can be achieved via several methods. The most common are ironing on and sewing. For iron-on patches, you’ll need an iron and some patience. For sewing, you’ll need a needle and thread. Adhesive or glue can also be used how to put a patch on a backpack, especially for non-fabric items. Always follow the patch manufacturer’s instructions for the best results.